While I was a patient on a psychiatric ward, they had a sensory room with different aids, including aromatherapy and a weighted blanket. The blanket was magical (soothing, comforting, a literal safety blanket) so I decided to sew my own. They are also used for children with autism. Do NOT use for babies. Smothering deaths have happened.
FYI, I’m very much a beginner. I’ve made straight curtains, potholders and a small wall-hanging quilt (all straight lines), but that’s about it.
I made this blanket over a weekend, and the total cost was $24.52, but I already had some materials. Your cost will increase if you choose to use real Poly-Fil stuffing beads. I used a bag of economy birdseed from Target because I wasn’t sure how the blanket would come out. I plan to use it at work, an office building with a cafeteria, and I’m going to store it in a mouse-resistant garbage bag there. We’ll see how it goes.
MATERIALS
2 yards muslin or plain cotton fabric
2 yards fabric for cover
1 to 10 pounds of Poly-Fil stuffing beads (or birdseed)
Ziploc baggies, quart size
duct tape
Velcro
thread
pencil or fabric marker
quilter’s or regular ruler
measuring cups
I used muslin, but kind of wish I’d used a slightly thicker fabric. I also used a very soft, studded fabric I found in Joann’s “comfy cozy” section. The nubs are a great sensory detail. My fabric cost: $17.52. I used birdseed, 20-pound bag was $7 at Target; I used 10 pounds of it. Again, if making this for a child, be VERY careful about the weight. Ten pounds is definitely at the top of the range for the size I made (finished = 20 by 30 inches) for an adult. I think 7 pounds would have sufficed. The Velcro I had lying around was 6 by 4 inches, which I cut into 1- by 6-inch strips for the cover closure. I used yellow duct tape, because it was what I had. It shows through the muslin but I’m not worried about it.
STEP BY STEP WITH PHOTOS
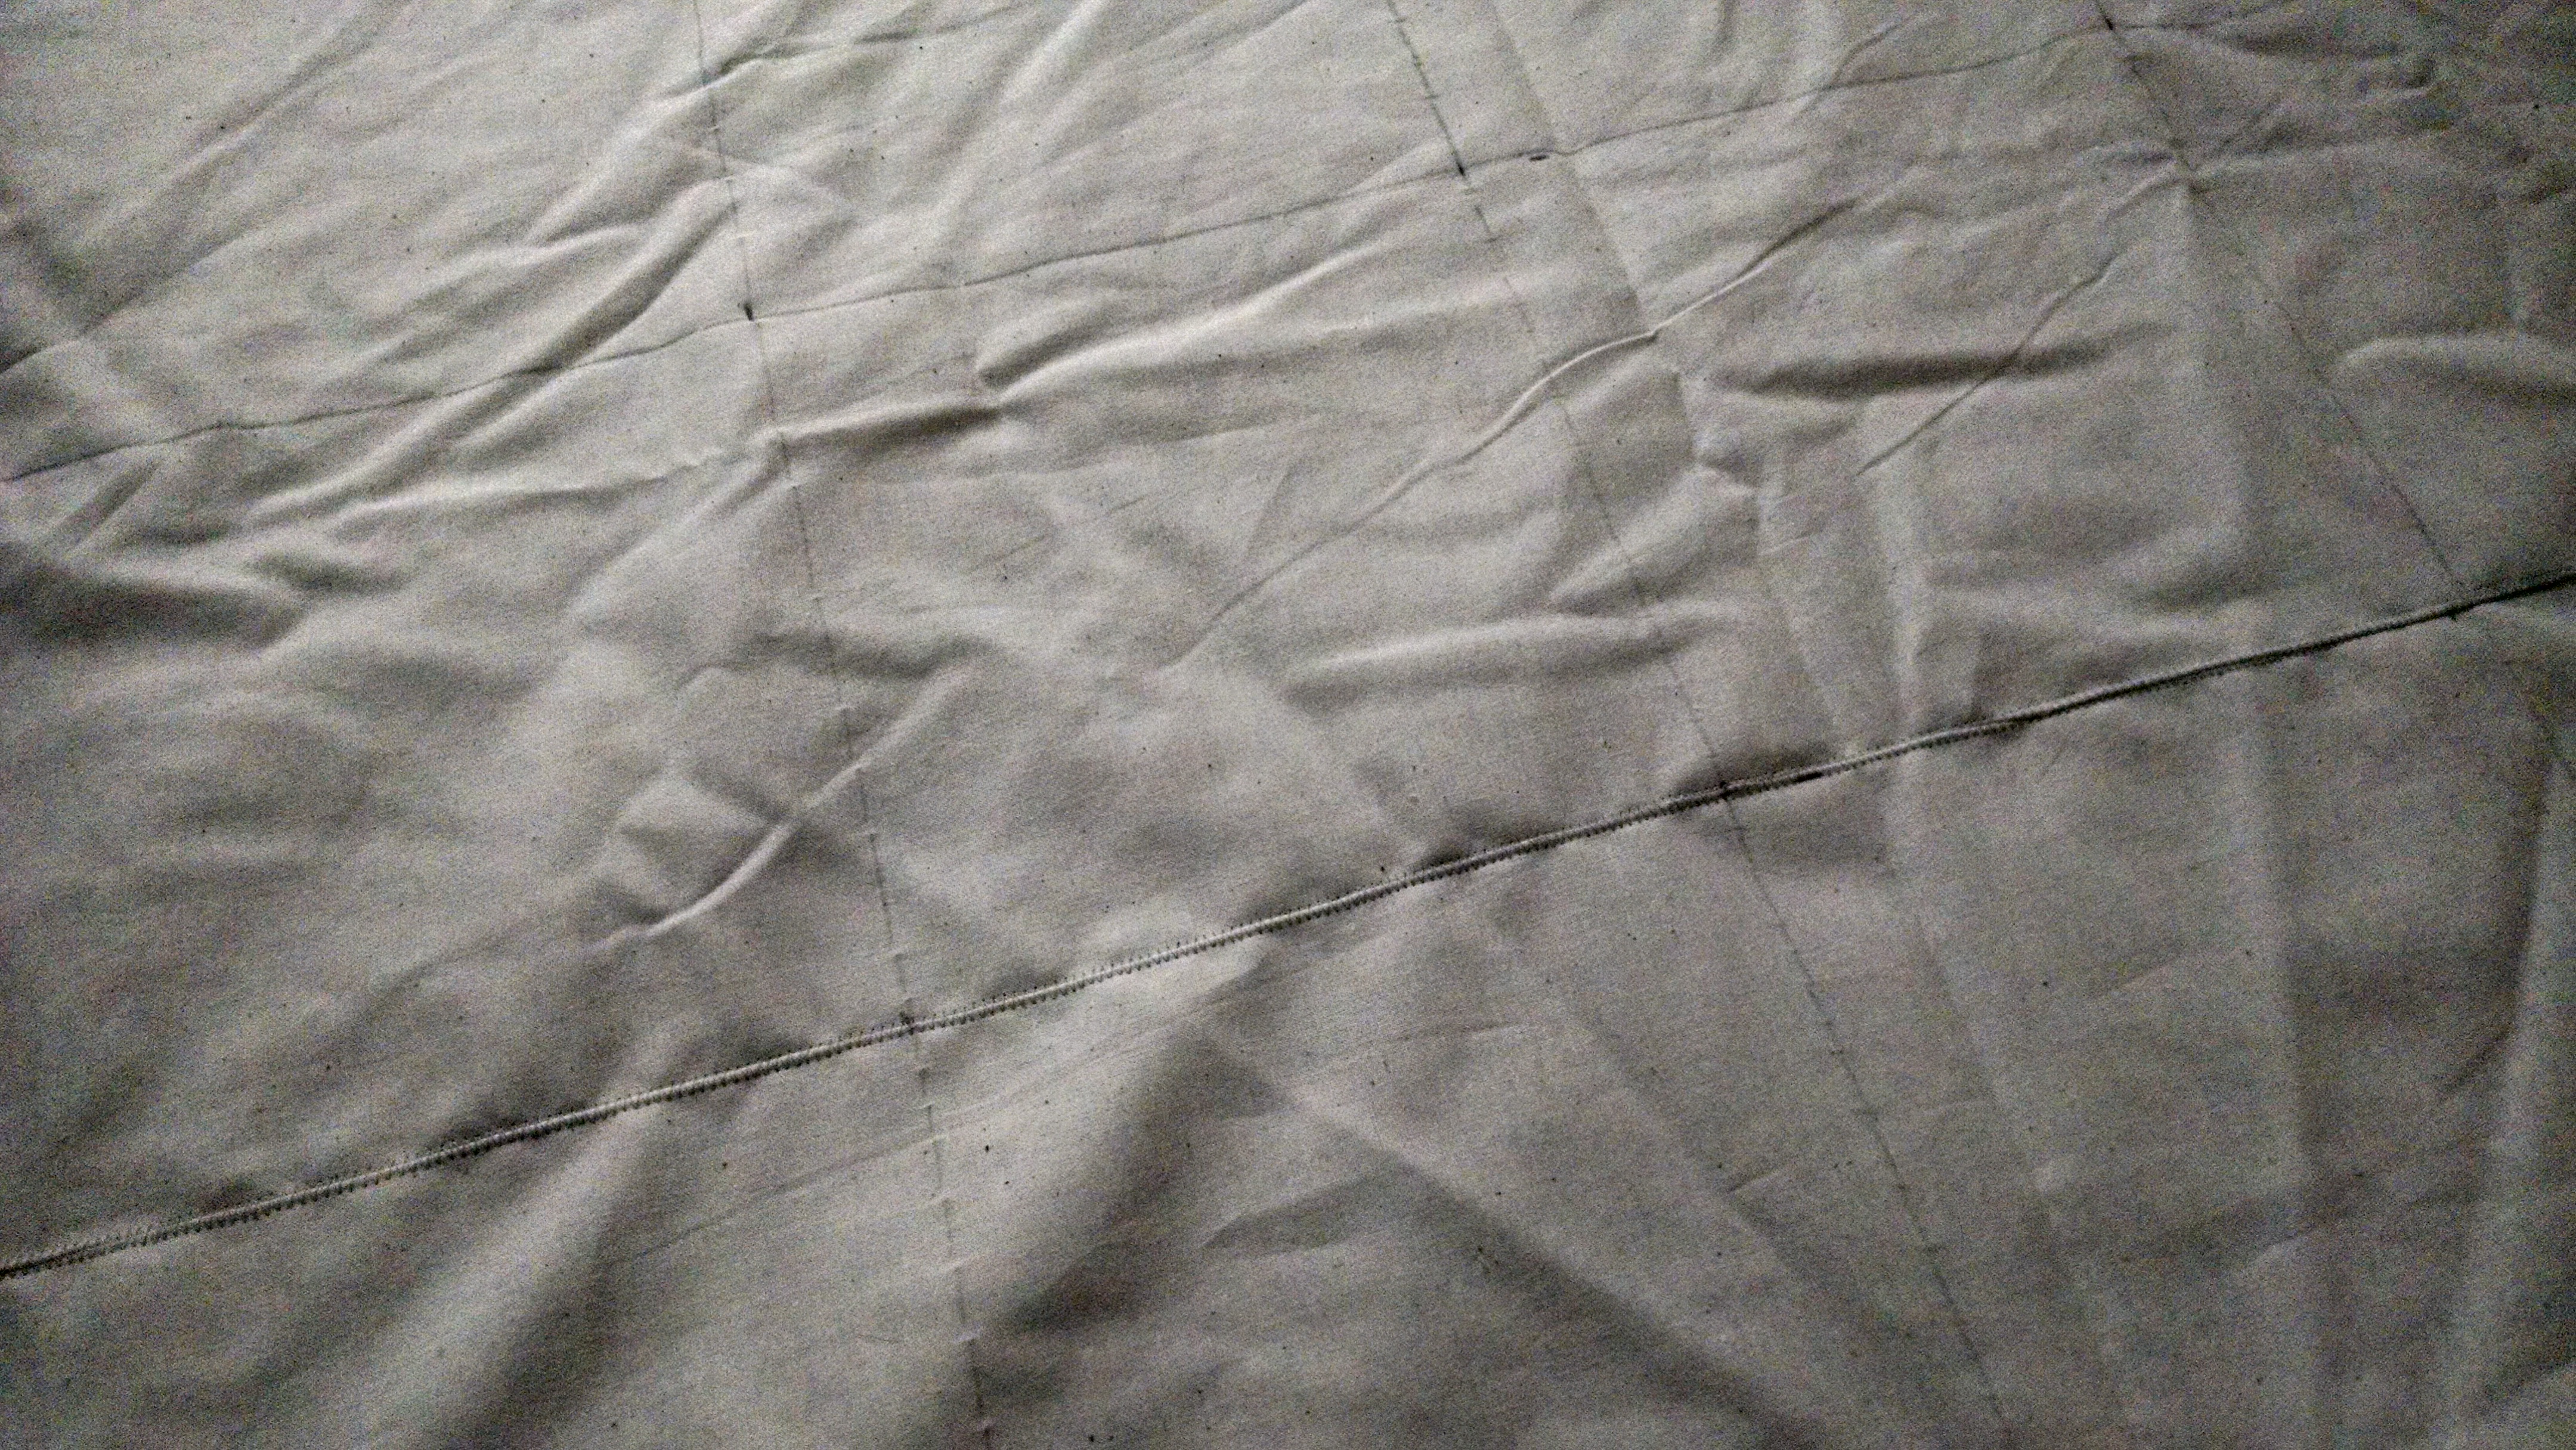
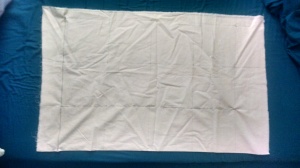
1. Fold muslin or plain fabric in half so you have a two-ply layer of 1 yard. Using a ruler and pencil or fabric marker, mark off 7- by 7-inch squares, totaling 12 (4 squares wide by 3 squares high). I should have ironed, I guess, but I didn’t feel like it.
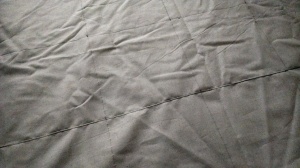
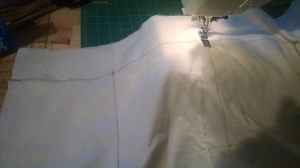
2. Sew lengthwise first, four rows to make the sides of the pockets you’ll stuff. Then sew across one edge to create the bottom of the first row of pockets. I used a zigzag stitch at a length of 1.5 on my machine, and I made sure to backstitch at all the stress points (corners of squares). I used the natural fold as one side of the blanket, but you could use two pieces of muslin and sew all four sides.
Continue reading →